QR code stickers are a fun and practical way to connect people with websites, menus, product pages, or social media accounts.
Whether you want to hand them out at events, stick them on packaging, or use them for personal projects, making your own QR code stickers is easier than you might think.
With printable vinyl sticker paper, a home printer, and an optional cutting machine like a Cricut, you can create professional-quality stickers from scratch.
Table of Contents
What You’ll Need
Royal Elements Printable Vinyl (see printable vinyl collection)
Inkjet or laser printer (depending on the vinyl type)
Scissors or a cutting machine (Cricut or Silhouette recommended)
Optional: Royal Elements Laminating Sheets (see laminating sheets) for waterproofing
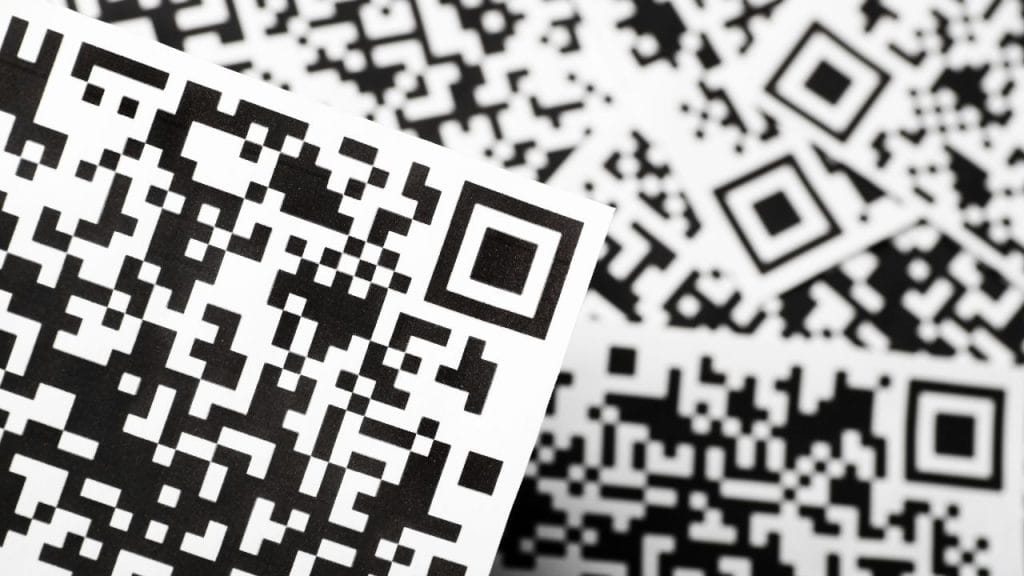
Step 1: Generate a QR Code
The first step is to create your QR code.
You can use a free online QR code generator such as:
QRCode Monkey
QR Code Generator
Canva (built-in QR tool for design projects)
Enter the URL you want to link to — this could be your shop, YouTube channel, Instagram profile, or even a menu for a restaurant.
Once the code is generated, download the file in a high-resolution PNG or SVG format.
Step 2: Design Your Sticker
Open a design program like Canva, Photoshop, or Cricut Design Space.
Import your QR code and size it appropriately. Most QR code stickers are between 1” to 2.5” wide, but you can adjust depending on your use case.
You can also:
Add a border or background color.
Include text such as “Scan Me!” to make the purpose clear.
Place a logo or small image near the code for branding.
Step 3: Print on Printable Vinyl
Load your Royal Elements printable vinyl into your printer, making sure the printable side is facing the correct direction.
Adjust your printer settings for high-quality photo printing to get sharp results.
For inkjet printers, select “Photo Paper” or “Glossy Paper” in your settings.
For laser printers, ensure you’re using laser-compatible printable vinyl.
After printing, allow the sheet to dry for a few minutes before handling.

Step 4: Cut Out Your Stickers
You have two options:
With Cricut or Silhouette: Upload your design into Design Space, set your cut lines, and let the machine cut each sticker precisely.
By Hand: Use scissors or a craft knife to carefully cut out each sticker.
If you plan to make a large batch, a Cricut will save a lot of time and ensure consistent results.
Step 5: Laminate for Durability (Optional)
If you want your QR code stickers to be waterproof or scratch-resistant, add a protective layer of lamination.
Place a Royal Elements laminating sheet over the printed vinyl.
Smooth it out with a scraper tool to remove bubbles.
Cut your stickers again (by machine or scissors).
This extra layer will make your stickers last longer, especially if they’ll be used outdoors or on packaging that’s handled frequently.
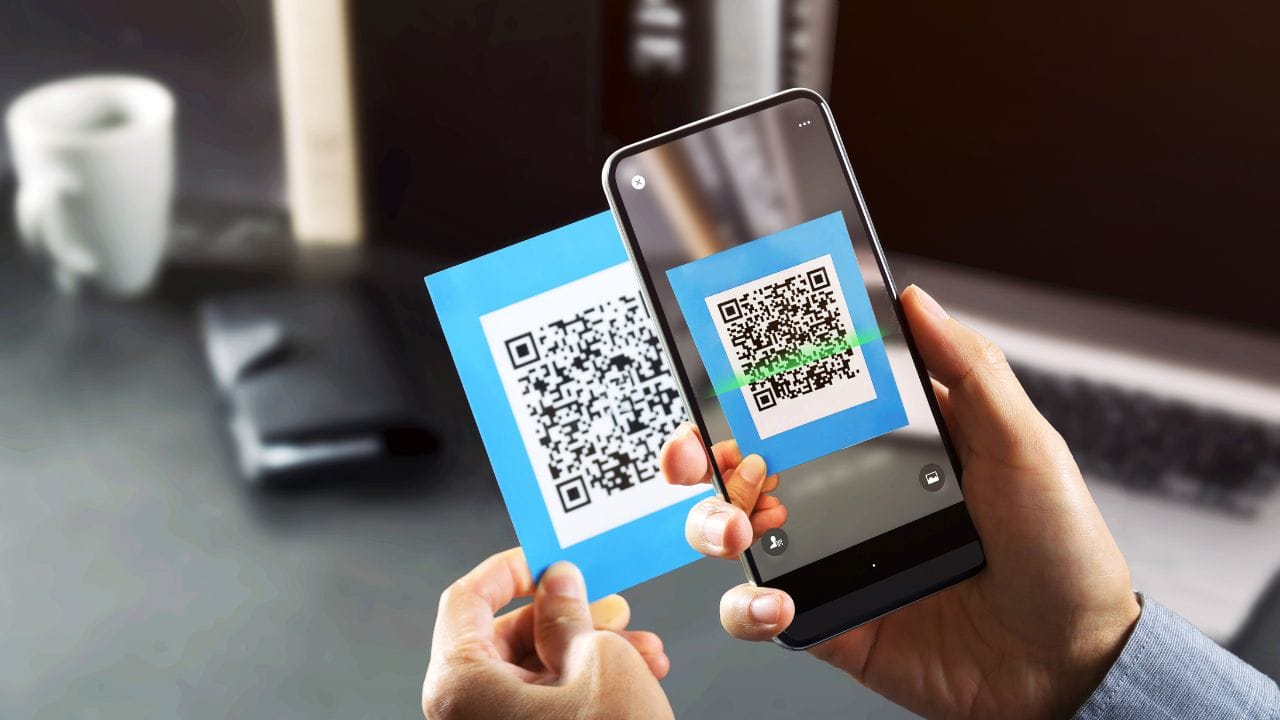
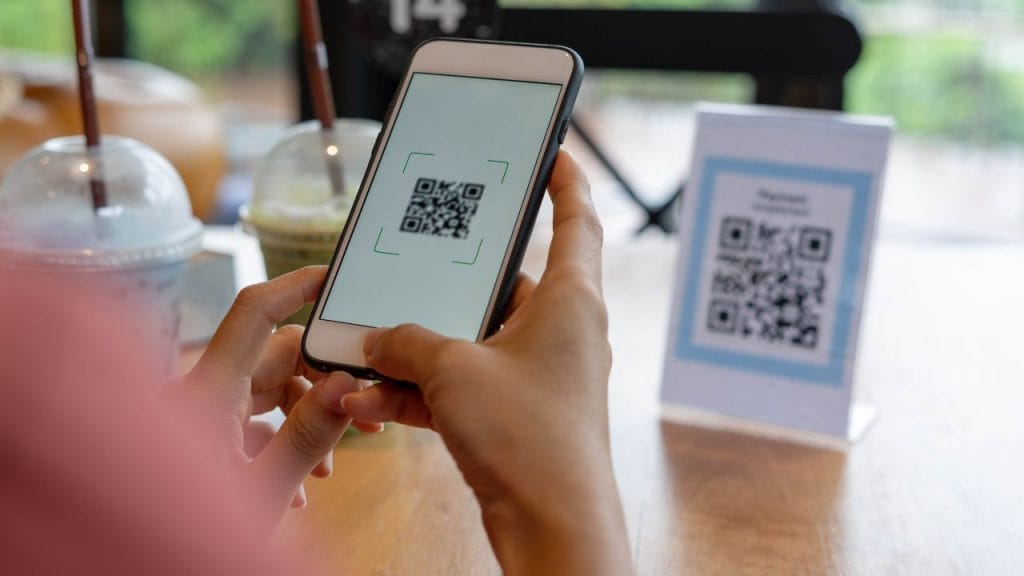
Step 6: Test Your QR Code
Before handing out or applying your stickers, always test them.
Use your phone’s camera to scan the code and confirm it works correctly.
Ideas for Using QR Code Stickers
Business cards – let clients scan for quick contact.
Product packaging – link to instructions, reviews, or promotions.
Events & weddings – link to RSVP pages or photo galleries.
Etsy/Shopify stores – send customers to your shop.
Social media growth – link directly to your Instagram, TikTok, or YouTube.
Final Thoughts
Making QR code stickers is a simple way to combine creativity with functionality.
With Royal Elements printable vinyl and laminating sheets, you can create durable, professional-quality stickers right at home.
Whether for business or personal use, these stickers are an excellent tool for sharing links in a fun and interactive way.
👉 Browse our Printable Vinyl collection and start creating your own QR code stickers today!