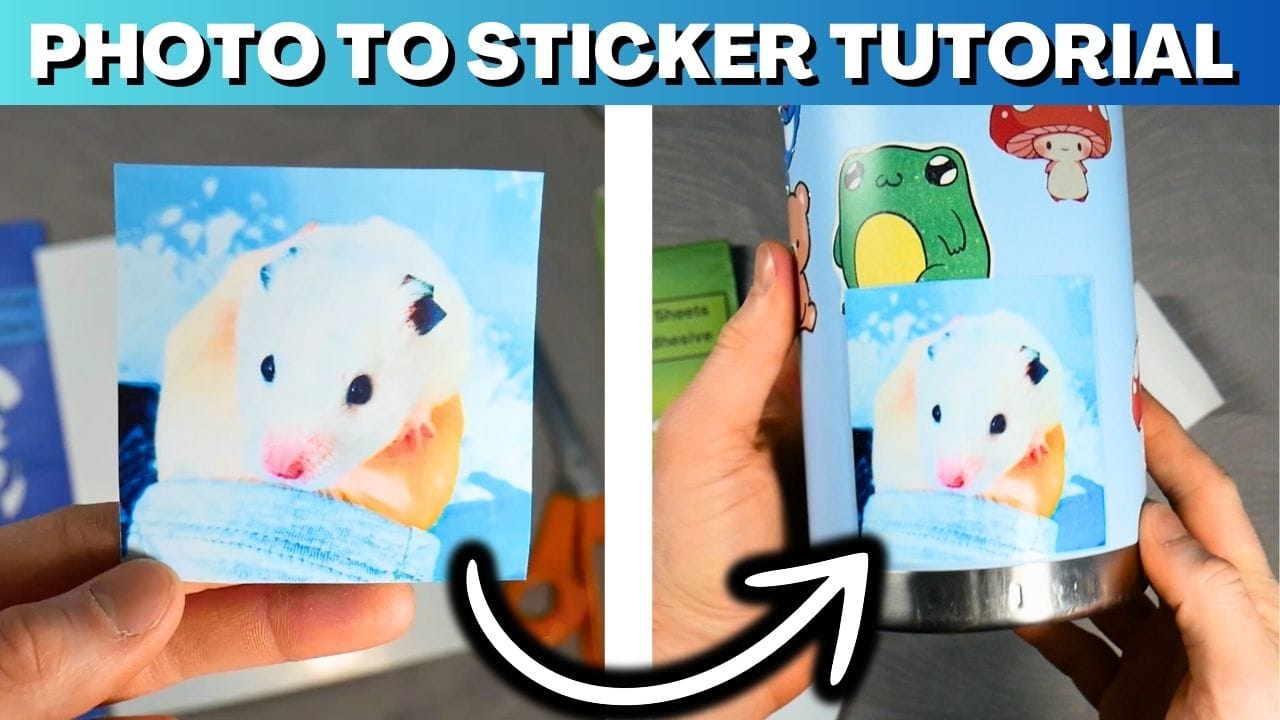
Have you ever wanted to turn your favorite photos into custom stickers?
Whether you want to decorate your laptop, personalize water bottles, or create unique gifts, making stickers from your photos is easier than you think!
In this guide, we’ll show you how to use glossy printable vinyl sticker paper to make high-quality, waterproof stickers right from home.
Table of Contents
What You’ll Need:
Glossy Printable Vinyl Sticker Paper
Inkjet or Laser Printer (compatible with your sticker paper)
Scissors or a Craft Cutting Machine (like Cricut or Silhouette)
Laminating Sheets (for extra durability, optional)
A Squeegee or Card (to smooth out bubbles)

Step-by-Step Guide to Making Photo Stickers
Step 1: Choose and Edit Your Photos
Pick the photos you want to turn into stickers. For best results:
Use high-resolution images.
Adjust brightness, contrast, and saturation for vibrant prints.
Remove unwanted backgrounds using free online tools like Canva or Remove.bg if needed.
Step 2: Print on Glossy Printable Vinyl Sticker Paper
Load your printable vinyl sticker paper into your inkjet or laser printer (check if your paper is compatible).
Set your printer to high-quality printing mode.
Print your photos onto the glossy side of the sticker paper and let them dry for a few minutes to avoid smudging.

Step 3: Add a Laminate Layer (Optional for Extra Protection)
If you want waterproof and scratch-resistant stickers, apply a laminating sheet over the printed sticker sheet:
Peel off the backing of the laminate sheet.
Slowly place it over your printed stickers, smoothing it out with a squeegee or card to remove air bubbles.

Step 4: Cut Out Your Stickers
You can cut out your stickers using:
Scissors: Great for simple shapes.
A Craft Knife: Ideal for detailed cuts.
A Cutting Machine (Cricut or Silhouette): Best for precision and multiple stickers.

Step 5: Peel and Stick!
Now that your stickers are ready, peel off the backing and apply them to any smooth surface like notebooks, phone cases, mugs, or even your car!

Tips for Best Results:
Use high-quality printable vinyl for longer-lasting stickers.
Let the ink dry completely before applying laminate to avoid smearing.
Test print on regular paper before using sticker paper to ensure the correct size and colors.
Store unused sticker paper in a dry, cool place to prevent curling.
Where to Get the Best Printable Vinyl Sticker Paper?
At Royal Elements, we offer premium printable vinyl sticker paper that’s waterproof, durable, and perfect for DIY projects.
Check out our selection here: Shop Printable Vinyl Sticker Paper
Conclusion
Making stickers from your photos is a fun and easy way to personalize your belongings or even start a small business selling custom stickers!
Follow these steps, experiment with different designs, and get creative with your sticker-making.
Want More DIY Sticker Ideas?
Follow us on Pinterest for more creative projects: https://www.pinterest.com/royalelements/
Tag us on Instagram with your creations: https://www.instagram.com/royalelementsofficial/
Happy crafting!