Do you want to create custom bumper stickers that are waterproof, durable, and perfect for showcasing your personality?
In this guide, we’ll walk you through how to make DIY bumper stickers using printable vinyl and laminating sheets—no special equipment required!
Table of Contents
Why Make Your Own Bumper Stickers?
Making your own bumper stickers lets you:
- Customize designs to fit your personality or brand
- Ensure high durability with waterproof protection
- Save money compared to buying pre-made stickers
Let’s dive into the step-by-step process.
Materials You’ll Need
To make high-quality bumper stickers, gather the following supplies:
- Printable vinyl – (like our Royal Elements Printable Vinyl)
- Laminating sheets – For added durability and waterproofing
- Inkjet or laser printer – Make sure to use high-quality print settings
- Scissors or craft knife – To cut out your designs
- Squeegee or credit card – Helps smooth out bubbles
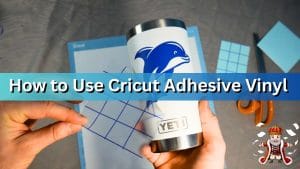
- Optional: Cutting machine (Cricut or Silhouette) – For precise cuts

Step 1: Design Your Sticker
Before printing, you need to create your bumper sticker design. Here’s how:
- Use software like Canva
- Set your dimensions (e.g., 3×6 inches like we did below in Canva)
- Choose bold, high-contrast colors for visibility
- Save your design as PNG or high-resolution PDF for the best print quality
Tip: If designing text, use thick, readable fonts for better legibility.

Step 2: Print on Printable Vinyl
Now that your design is ready, it’s time to print.
- Load your printable vinyl into the printer (printed side facing up)
- Adjust your printer settings to print “Best” quality (glossy photo paper setting for inkjet printers if using glossy or clear printable vinyl)
- Print your design and let the ink dry for a few minutes before handling
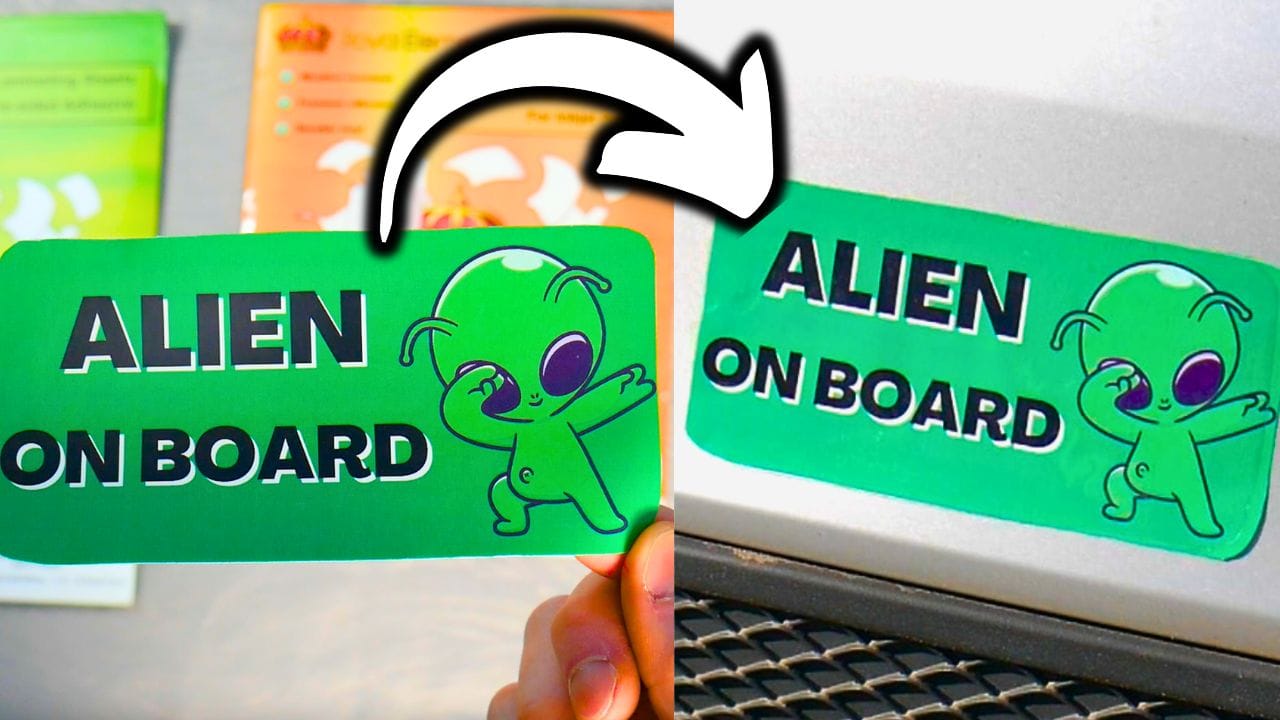
Step 3: Apply a Laminating Sheet for Protection
Laminating your sticker protects it from water, sunlight, and scratches.
- Peel off the backing of the laminating sheet and carefully place it over your printed vinyl
- Use a squeegee or credit card to smooth out any bubbles
- Trim off any excess lamination around the edges
Tip: A glossy laminating sheet enhances color vibrancy, while a matte finish reduces glare.
Step 4: Cut Out Your Sticker
You can cut your bumper sticker by:
- Hand-cutting with scissors – Best for simple shapes
- Using a craft knife – Helps with detailed designs
- Using a cutting machine – If you have a Cricut or Silhouette, upload your design and let the machine do the cutting for precision

Step 5: Apply Your Bumper Sticker
Once your sticker is cut out, it’s time to apply it to your car.
- Clean the surface where you’ll place the sticker using rubbing alcohol
- Peel off the backing and position the sticker carefully
- Smooth it down with your hand or a squeegee to remove air bubbles
- Allow it to adhere for a few hours before exposing it to water

Durability and Care Tips
- The combination of printable vinyl and laminating sheets makes the sticker waterproof and weather-resistant
- Avoid using high-pressure washes directly on the sticker
- With proper care, your bumper sticker can last months or even years
Final Thoughts
Creating DIY bumper stickers is an easy and cost-effective way to personalize your car, promote a brand, or make gifts for friends.
With Royal Elements Printable Vinyl and Laminating Sheets, you can achieve professional results at home.
If you found this guide helpful, check out our other DIY sticker tutorials. Visit our shop page for premium sticker-making materials.