Creating your own custom DIY stickers is a fun and rewarding way to personalize your crafts, brand your business, or even start selling your own sticker designs.
With the right materials and techniques, you can achieve professional-quality stickers right from home.
In this guide, we’ll walk you through the process step by step.
Plus, check out our detailed video tutorial on the Royal Elements YouTube channel to see the process in action:
Table of Contents
What You’ll Need
Before you get started, gather the following supplies:
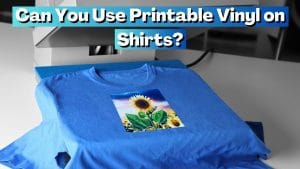
Printable Vinyl Sticker Paper – Choose high-quality printable vinyl for vibrant and durable stickers.
Inkjet or Laser Printer – Ensure your printer is compatible with the sticker paper you’re using.
Laminating Sheets (Optional) – If you want waterproof and scratch-resistant stickers, consider adding a laminate layer.
Cutting Tools – A craft knife, scissors, or a cutting machine like a Cricut or Silhouette.

Step 1: Design Your Stickers
Use a design software like Canva, Adobe Illustrator, or even free tools like Inkscape to create your sticker designs. Make sure your designs are high resolution (300 DPI) for crisp prints.
Pro Tip:
If you’re using a cutting machine, make sure to include a cutting outline around each sticker for easy cutting alignment.

Step 2: Print Your Stickers
Load your printable vinyl sticker paper into your printer. Double-check whether your paper is designed for inkjet or laser printers.
Adjust your print settings for best quality and select the appropriate paper type (e.g., glossy, matte, or vinyl, depending on your paper).
Print a test page first to ensure colors and alignment are correct.

Step 3: Laminate for Extra Durability (Optional)
If you want waterproof stickers, apply a clear laminating sheet over your printed stickers before cutting them. This adds protection against water, scratches, and fading.
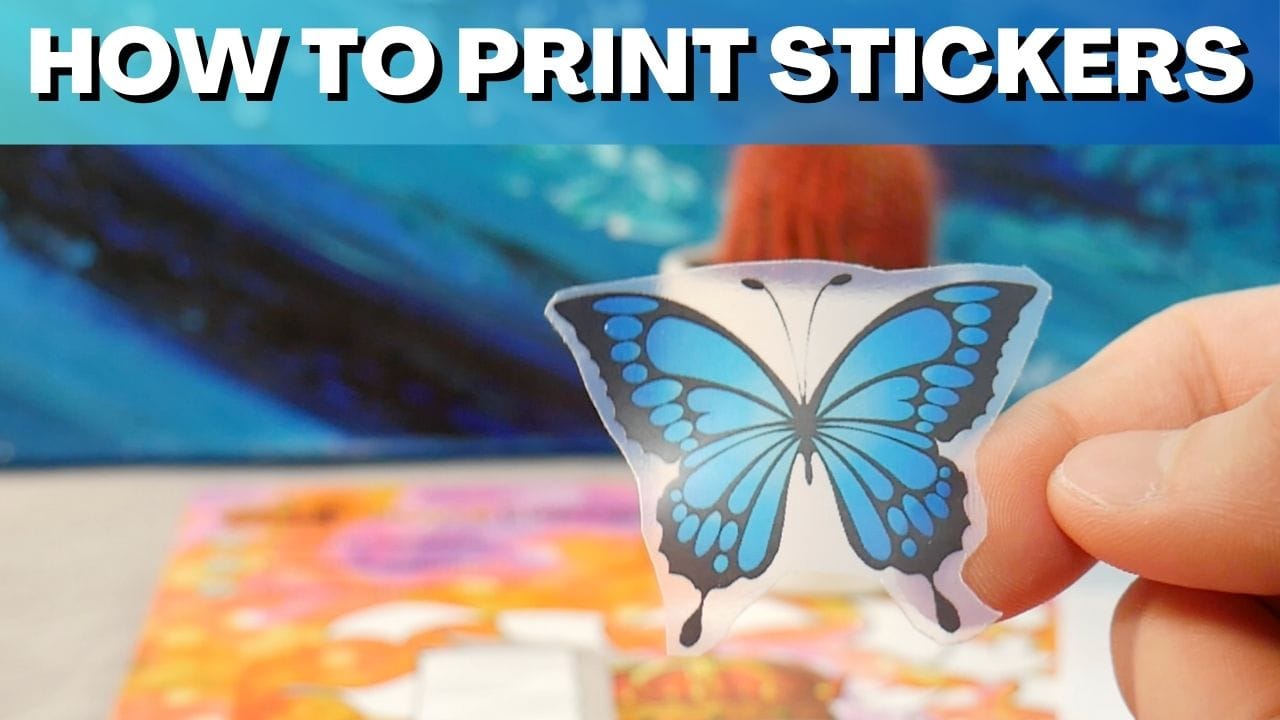
Step 4: Cut Your Stickers
If using scissors or a craft knife, carefully cut around each sticker.
If using a Cricut or Silhouette, upload your design, set the cutting settings for vinyl or sticker paper, and let the machine do the work.
Pro Tip:
Use the “kiss-cut” setting if you’re making sticker sheets, so only the top layer is cut while leaving the backing intact.
Step 5: Enjoy & Share Your Stickers!
Your DIY stickers are now ready to use!
Stick them on notebooks, water bottles, laptops, or use them for your business branding.
If you’re selling stickers, consider packaging them in a professional way to attract customers.
Shop Royal Elements store now to browse our selection of printable vinyl, laminating sheets, and more!