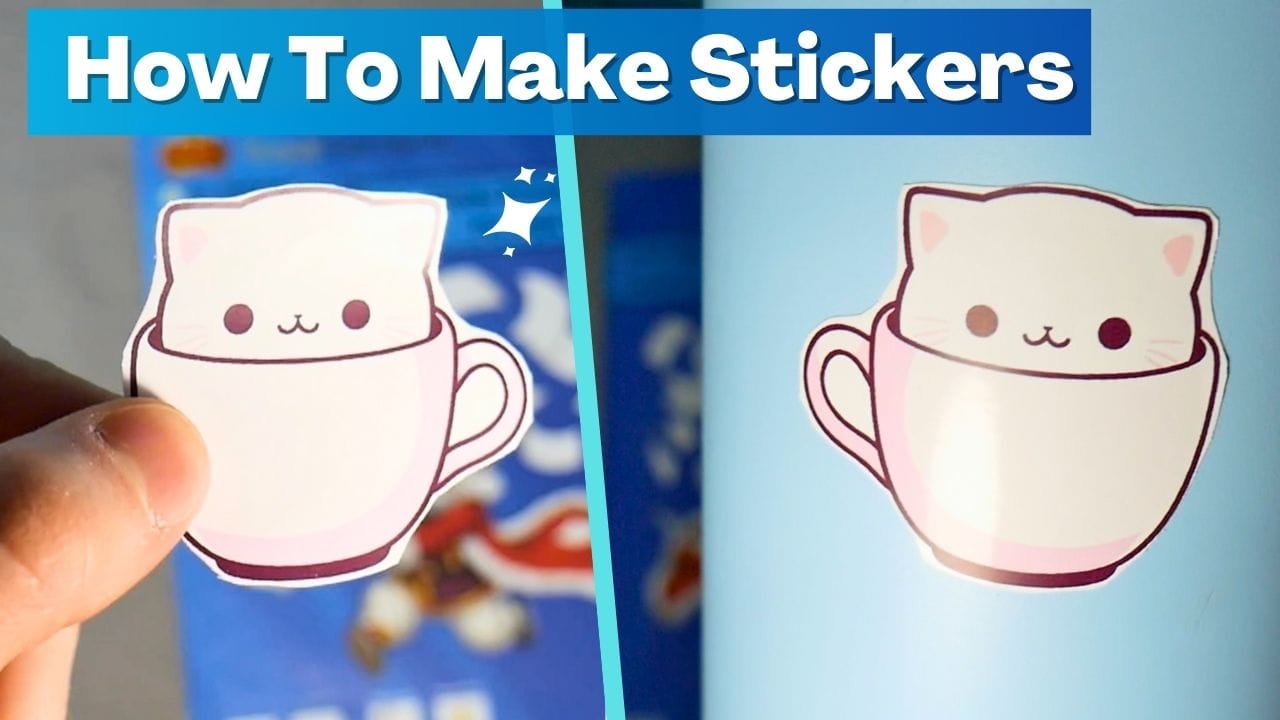
Making custom stickers is a fun and creative activity that doesn’t require expensive tools like a cutting machine.
With printable vinyl and a pair of scissors, you can design and craft unique stickers right from the comfort of your home.
This guide will walk you through the entire process, step-by-step, so you can create professional-looking stickers for personal use, gifts, or even for your small business.
Materials You’ll Need:
- Printable Vinyl – Choose high-quality printable vinyl for crisp and vibrant designs.
(Royal Elements offers premium printable vinyl sheets that are waterproof and durable.)
- Scissors – Any sharp scissors will work, but precision scissors are ideal for intricate designs.
- Inkjet or Laser Printer – Make sure your vinyl is compatible with the type of printer you have.
- Sticker Design Software – Programs like Canva, Photoshop, or Microsoft Word work well for creating designs.
- Laminating Sheets (Optional) – To add a waterproof and scratch-resistant layer to your stickers.
- Ruler or Straightedge (Optional) – Useful for clean, straight cuts.

Step-by-Step Guide to Making Stickers
- Create Your Sticker Designs
The first step is to design your stickers. Here’s how to get started:
- Choose a theme: Decide on the purpose of your stickers, whether for journaling, labeling, or decoration.
- Use design software: Canva is beginner-friendly and offers pre-made templates. Photoshop or Illustrator allows for more customization.
- Set up your dimensions: Match your design dimensions to the size of your printable vinyl sheet (typically 8.5” x 11”).
- Add your designs: Import images, use text tools, or create hand-drawn elements for a personal touch.
- Group and space designs: Position your designs to minimize waste on the vinyl sheet.
- Print Your Stickers on Printable Vinyl
Once your designs are ready:
- Load the printable vinyl into your printer, ensuring the printable side faces the ink nozzles.
- Adjust your printer settings:
- Paper type: Set to “Photo Paper” or “Premium Matte.”
- Quality: Choose the highest print quality.
- Print a test page on regular paper to ensure proper alignment and colors.
- Print your designs onto the vinyl sheet. Allow the ink to dry completely (typically 5-10 minutes).
3. Add Lamination for Durability (Optional)
If you want waterproof and long-lasting stickers:
- Place a laminating sheet over your printed vinyl, starting from one corner and smoothing it down to prevent air bubbles.
- Use a ruler or credit card to firmly press the laminate and ensure adhesion.
This step is optional but highly recommended for stickers exposed to moisture or heavy use.
- Cut Out Your Stickers
Now for the fun part! Cutting your stickers by hand:
- Rough cut around your designs first to separate them into smaller sections.
- Use sharp scissors to carefully cut around each sticker:
- For simple shapes (circles, squares), follow the outline.
- For detailed designs, leave a small white border around the edges for a polished, professional look.
- Use a ruler and scissors for straight-edged designs like labels.

Table of Contents
Tips for Cutting Stickers by Hand
- Go slow: Precision is key when cutting by hand, so take your time.
- Use small scissors: Precision scissors give you better control for intricate designs.
- Rotate the vinyl: Instead of moving your scissors around tight corners, rotate the vinyl sheet for smoother cuts.
- Use or Store Your Stickers
Your stickers are now ready to use!
- Peel and stick: Apply them to notebooks, water bottles, laptops, or any smooth surface.
- Store extras: Keep unused stickers in a plastic sleeve or envelope to prevent damage.
Why Use Printable Vinyl for Stickers?
Printable vinyl is ideal for creating durable, high-quality stickers because it:
- Produces vibrant, detailed prints.
- Is compatible with both inkjet and laser printers.
- Can be laminated for added protection.
- Sticks well to a variety of surfaces without peeling.
Conclusion
Making stickers with printable vinyl and scissors is an affordable and accessible way to unleash your creativity.
Whether you’re crafting for fun, personalizing your belongings, or starting a small sticker business, this method is easy to master and doesn’t require a cutting machine.
So grab your printable vinyl and scissors, and start designing your unique creations today!
(For the best results, check out Royal Elements’ premium printable vinyl sheets here. and bring your sticker-making ideas to life!)