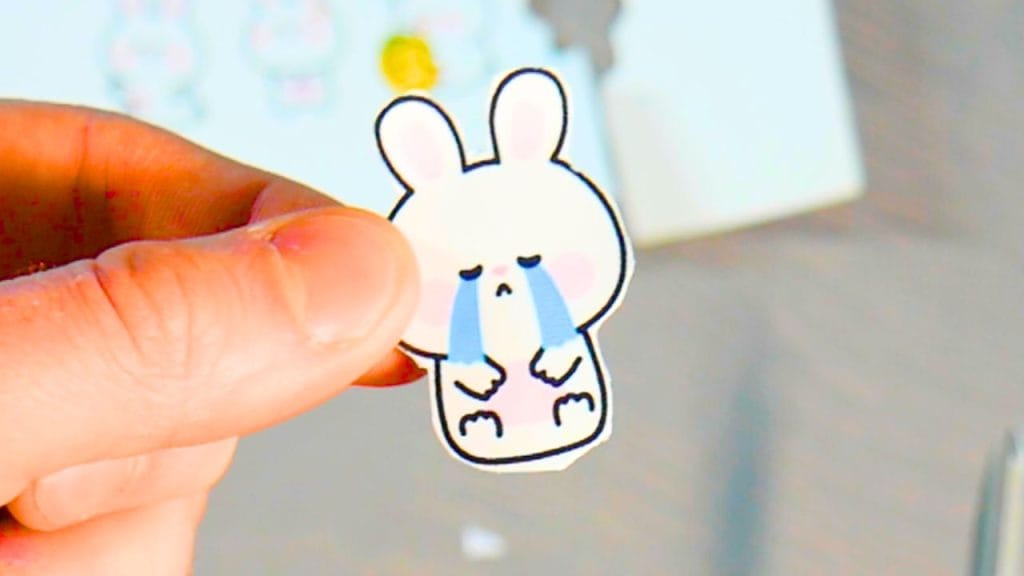
If you’ve ever printed a design onto printable vinyl and noticed that the colors looked dull, washed-out, or less vibrant than expected, you’re not alone.
Many crafters and small business owners face this challenge when creating stickers, decals, or custom labels.
The good news? With the right setup, you can achieve bold, professional-quality results that truly pop.
In this guide, we’ll walk through the best practices for getting vibrant colors on printable vinyl after years of testing and experimenting with many options—from choosing the right vinyl to adjusting printer settings, laminating, and avoiding common mistakes.
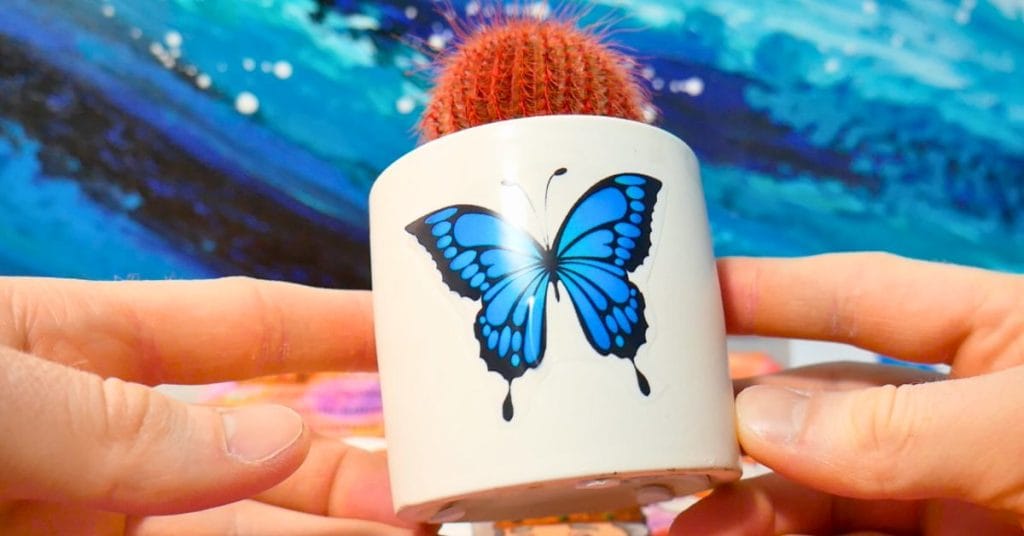
Table of Contents
1. Start with the Right Printable Vinyl
Not all printable vinyl is created equal. Low-quality or off-brand vinyl can produce muted tones because of surface coating and color absorption issues. For the most vivid prints:
Choose bright-white vinyl: The whiter the base, the more accurate and bold your printed colors will appear. Off-white vinyl can dull designs.
Look for smooth, ink-receptive coatings: These prevent ink from soaking in too much and losing intensity.
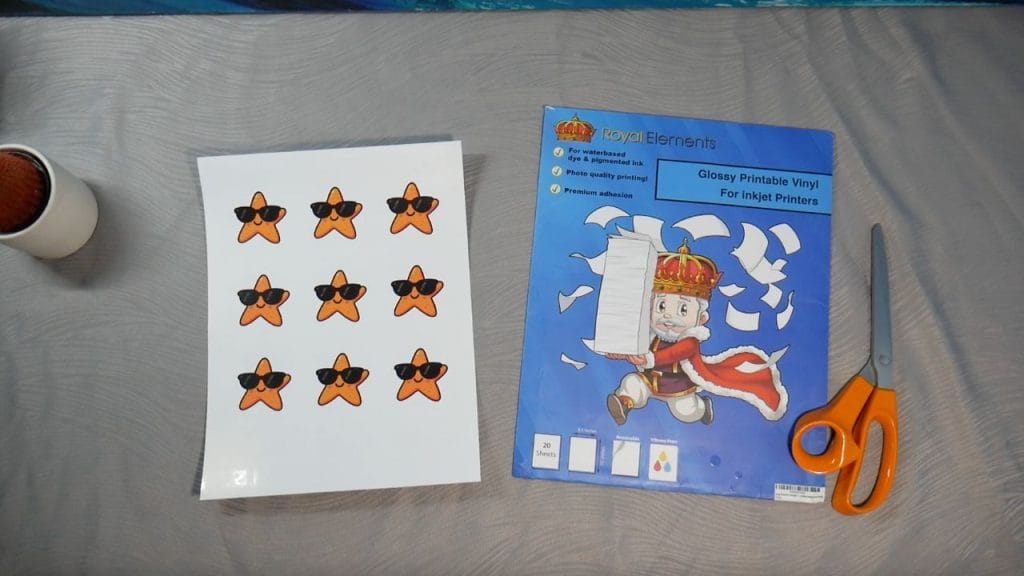
Check printer compatibility: Some printable vinyl is only compatible with inkjet printers, while others work with both inkjet and laser.
For example, Royal Elements printable vinyl sheets are designed for both inkjet and laser printers, giving you flexibility and reliable color performance.
2. Choose the Best Printer for Vibrant Colors
Your printer makes a huge difference in how colors appear:
Inkjet Printers: Great for blending colors and achieving rich saturation. They typically produce more vibrant photos and graphics, especially when using dye-based inks.
Laser Printers: Provide sharp text and clean lines, but may not achieve the same level of color depth as inkjet. However laser toner is naturally more water-resistant than inkjet ink, making it a more durable choice.
Pigment inks last longer, resist fading, and are water-resistant—perfect for outdoor stickers.
Dye inks deliver brighter and more saturated colors but may fade faster in sunlight.
If color vibrancy is your top priority, an inkjet printer with dye-based inks will generally give you the best results.
3. Adjust Printer Settings for Maximum Color
Many color issues come down to overlooked printer settings. Before you print:
Change the print quality to “Best” or “High Quality.” Avoid “Draft Mode,” which saves ink but dulls colors.
Select the right paper type. Even though you’re using vinyl, selecting “Photo Paper – Glossy” or “Photo Paper – Matte” often delivers better saturation.
Check color management. If your printer supports ICC color profiles, enable them for the most accurate output.
Turn up saturation in your design software. Sometimes adding a little extra brightness or contrast before printing ensures your final design looks bold.

4. Prevent Dull or Washed-Out Colors
Even when using the best vinyl and settings, small mistakes can sabotage vibrancy:
Allow drying time: Don’t touch freshly printed sheets immediately. Give them at least 10–15 minutes to dry fully.
Store vinyl flat: Curled or warped sheets can cause misfeeds that affect print quality.
Keep hands clean and dry: Oils from your fingers can transfer to the vinyl surface and impact how ink adheres.
5. Laminate for Extra Pop and Protection
One of the easiest ways to instantly make your printed colors more vivid is to laminate the vinyl after printing.
Glossy laminating sheets intensify colors and give your stickers a shiny, professional finish.
Matte laminates tone down reflections but still make colors look deeper while adding protection.
On top of color enhancement, lamination protects against water, scratches, and fading, ensuring your stickers last longer.
Check out Royal Elements laminating sheets for a simple way to boost vibrancy and durability.

6. Run Test Prints Before Committing
Every printer-vinyl-ink combination behaves a little differently. To avoid wasting materials:
Print a small test design in one corner before committing to a full sheet.
Adjust saturation, brightness, or contrast in your design software (like Cricut Design Space, Canva, or Photoshop) based on test results.
Keep a record of your best settings for future projects—this will save time and materials long-term.
7. Common Mistakes to Avoid
To get the best results, watch out for these common pitfalls:
Printing on the wrong side: Many printable vinyl sheets have a printable surface and a backing sheet—double-check before loading into the printer.
Using the wrong ink: For example, solvent inks in a standard inkjet printer can cause smudging. Stick with the ink type your printer is designed for.
Skipping lamination for outdoor projects: Without sealing or laminating, printed colors can fade quickly in sunlight or wash away when exposed to water.
Final Thoughts
Getting vibrant colors when printing on printable vinyl doesn’t have to be complicated.
With our testing and experimentation over the years we have found following the above instructions will give you the best results when printing on vinyl sticker paper.
By starting with high-quality vinyl, choosing the right printer and inks, optimizing your settings, and protecting your designs with lamination, you can create stickers and decals that look bold, professional, and long-lasting.
Ready to take your projects to the next level? Explore the Royal Elements printable vinyl collection and laminating sheets to ensure your prints always look their best.