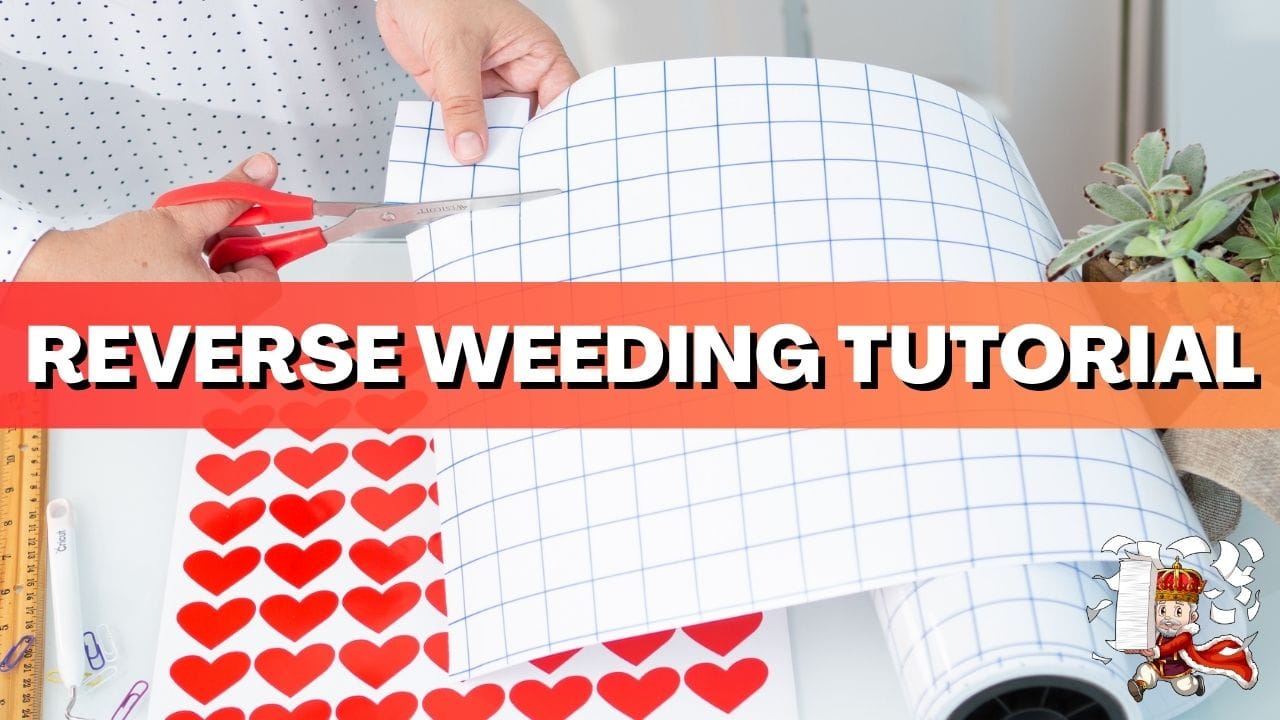
When working with detailed designs or small lettering, standard vinyl weeding can quickly turn frustrating.
That’s where reverse weeding comes in — a clever technique that saves intricate cuts, prevents tearing, and helps your finished decal look clean and professional.
In this guide, we’ll show you how to reverse weed adhesive vinyl with your Cricut machine, the tools you’ll need, and some expert tips for perfect results every time.

Table of Contents
What Is Reverse Weeding?
Reverse weeding is a method where you apply transfer tape to your design before weeding instead of after.
Normally, when you weed vinyl, you remove the excess background first, leaving only your design on the backing paper.
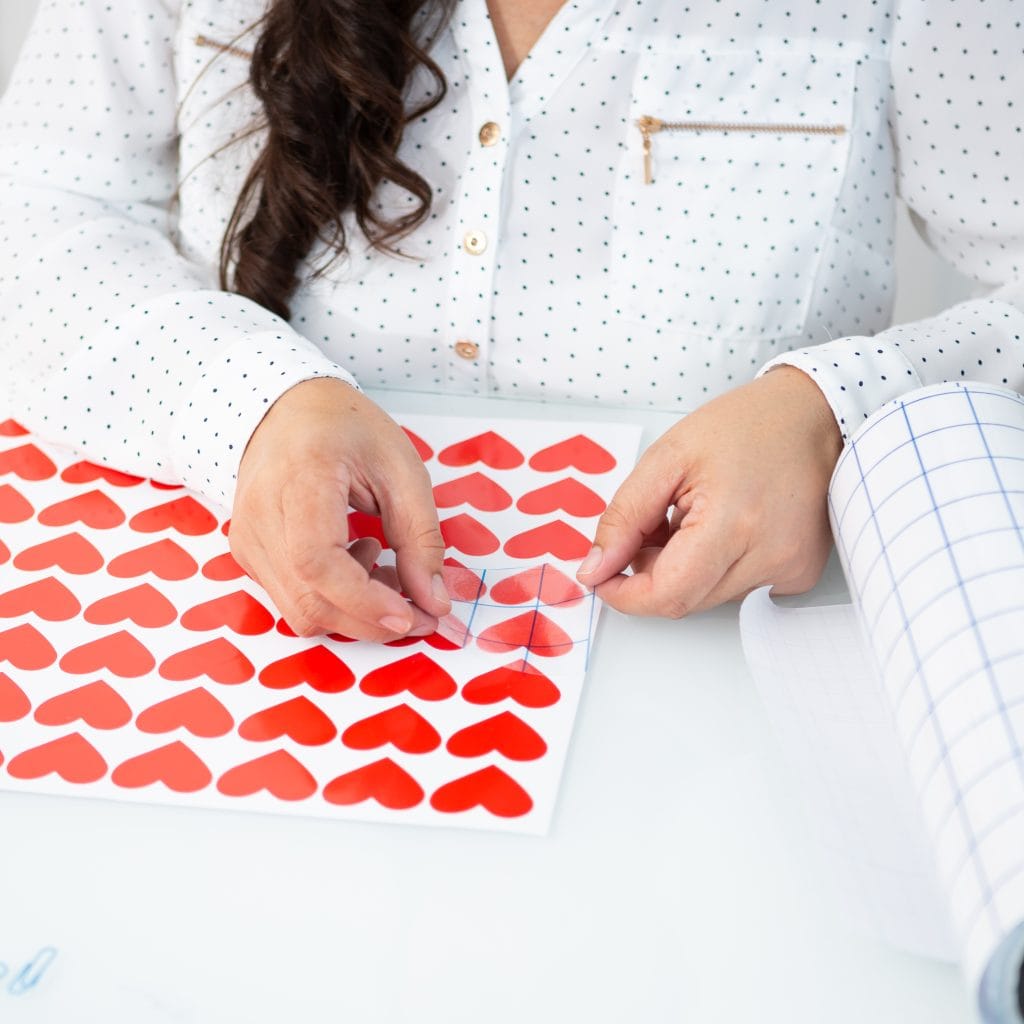
But with reverse weeding, you apply transfer tape over the unweeded vinyl first.
Then, you peel away the backing and weed through the transfer tape.
This technique is ideal for:
Small, intricate lettering
Thin lines or detailed SVGs
Multi-layer decals where spacing matters
Preventing your vinyl from lifting or tearing during weeding
Think of reverse weeding as a way to “lock in” your design before you start removing any vinyl pieces.
Supplies You’ll Need
To reverse weed adhesive vinyl with your Cricut, gather the following materials:
Cricut machine (Maker, Explore Air 2, or Joy)
Royal Elements adhesive vinyl – permanent or removable 12″ x 12″ sheets
StandardGrip Cricut mat – light grip is also a good option (generally comes in blue)
Transfer tape (medium tack recommended) – Rolls or sheets are both fine, but rolls tend to be cheaper – look for 12″ sized rolls
Weeding tool or fine tweezers – a hooked weeding tool comes in handy, but using a knife or X-acto blade is also an option
Squeegee or scraper tool – will help with smoothing bubbles
Scissors or craft knife
💡 Tip: For intricate projects, use Royal Elements permanent adhesive vinyl — it’s durable, holds detail well, and transfers cleanly onto smooth surfaces
Step-by-Step: How to Reverse Weed Adhesive Vinyl
Follow these steps for flawless results:
Step 1: Cut Your Design
Open Cricut Design Space and upload your SVG or create your design directly in the app.
Select “Vinyl” as your material setting.
Load your adhesive vinyl onto the mat with the vinyl side facing up.
Perform a test cut first to ensure your blade depth is set correctly.
Step 2: Apply Transfer Tape Before Weeding
Once your design is cut, do not weed yet.
Cut a piece of transfer tape slightly larger than your design.
Apply it directly over the unweeded vinyl.
Use a squeegee or scraper to firmly burnish (press) the tape onto the vinyl.
This ensures all pieces — including small letters or details — stay perfectly in place.
Step 3: Flip and Remove the Backing Paper
Turn the vinyl over so the backing paper is facing up.
Gently peel the backing paper away from the vinyl and transfer tape.
The vinyl will now be stuck to the transfer tape, revealing the adhesive side.
Step 4: Weed Through the Transfer Tape
Now comes the fun part!
Use your weeding tool or tweezers to carefully remove the unwanted vinyl pieces through the transfer tape.
Take your time around fine details or thin lines.
Because the transfer tape holds everything together, you won’t lose any small pieces or letters.
Step 5: Apply Your Design
Once you’ve finished weeding:
Place your vinyl (still on the transfer tape) onto your surface — glass, plastic, wood, metal, etc.
Use a squeegee to smooth it out from the center outward.
Slowly peel back the transfer tape, leaving your perfect design behind.
Pro Tips for Perfect Reverse Weeding
Use bright lighting to clearly see small cuts and edges.
Always burnish both sides of your vinyl before removing the backing.
Work slowly — rushing can lift edges or distort letters.
Keep your Cricut mat sticky; a loose mat can cause uneven cuts.
Adjust your cutting pressure for thick or glossy vinyl sheets.
For extra protection, try sealing your design with Royal Elements laminating sheets — available in glossy, matte, and holographic finishes.
Common Mistakes to Avoid
Using weak transfer tape: Low-tack tape may not grip the vinyl firmly enough during weeding.
Skipping burnishing: Always press the tape firmly before peeling the backing.
Trying this with heat transfer vinyl (HTV): Reverse weeding is for adhesive vinyl only, not iron-on materials.
Not doing a test cut: It’s always worth taking an extra minute to test your settings before using an entire sheet.

When Reverse Weeding Isn’t Necessary
You don’t need to reverse weed every project.
For large, simple designs (like bold shapes or thick lettering), standard weeding is faster and easier.
Reserve reverse weeding for smaller, detailed, or delicate designs where precision matters most.
Recommended Vinyl and Tools
For the best results, use high-quality materials designed for Cricut machines.
We recommend:
Adhesive Vinyl Sheets – 12″ x 12″ available in permanent and removable options. Variety color packages are a popular choice.
12″ Transfer Tape Roll– medium tack, ideal for precision projects. Clear transfer tape is generally most popular with a 1″ grid for easy alignment.
Laminating Sheets – to protect your vinyl from scratches, water, and UV damage- though this is not necessary it can extend the lifespan of your decals.
Whether you’re creating custom tumblers, wall decals, or logo stickers, the right materials make all the difference.
FAQs
Can I reverse weed heat transfer vinyl (HTV)?
No — reverse weeding is meant for adhesive vinyl. HTV requires a different process since it’s heat-applied to fabric.
Why is my vinyl lifting while I weed?
You may not have burnished the transfer tape firmly enough, or your blade may be cutting too deep. Try reapplying pressure and adjusting your cut settings.
What transfer tape works best?
A medium-tack transfer tape works best for intricate adhesive vinyl projects — strong enough to hold details but gentle enough to remove cleanly.
Can I use this method with holographic or glitter vinyl?
Yes! Just apply extra pressure when burnishing since textured surfaces need stronger adhesion.
Conclusion
Reverse weeding might take a few extra minutes, but it’s the secret to professional-quality vinyl projects — especially when working with small text or intricate details.
With Royal Elements adhesive vinyl, your Cricut designs will stick, stay, and shine just the way you imagined.
👉 Try reverse weeding today and get flawless, detailed results with every project.
Dream it up, print it out — with Royal Elements.